Moving to WordPress VPS
HostJane recommends All-in-One WP Migration by ServMask, Inc. to migrate WordPress sites to HostJane. With over 1 million+ uses the plugin is the easiest way to move a WordPress site.
In this section
- Set up your WordPress VPS
- Back up your old site
- Export your old WordPress website
- Import your old WordPress site
- Change your password
- Update Permalink Structure TWICE
Set up your WordPress VPS
Before you migrate your old WordPress site, setup your new WordPress VPS or purchased Managed WordPress with AWS on a VPS managed by HostJane.
The new WordPress installation should be reachable in the browser at an IP address, for example: 123.456.789.1
Back up your old site
All-in-One WP Migration is easy to use, but care should be used with import/export options as it can affect your WordPress database.
It’s best to back up your existing WordPress site at the start.
Export your old WordPress website
Login to your old WordPress host by going to /wp-admin/ or /wp-login.php/ at your existing site.
Navigate to Plugins > Add Plugin
Type in All-in-One WP Migration until the ServMask plugin appears.
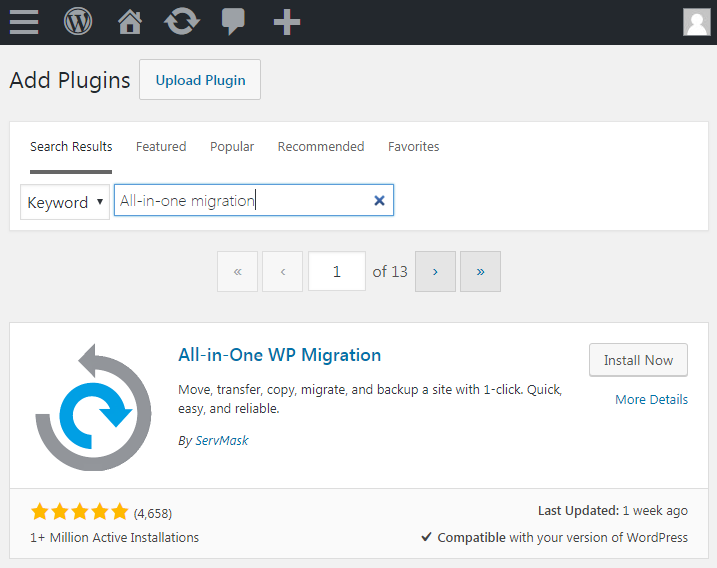
Press Install > Activate
In the left-hand WordPress dashboard, you should see the All-in-One WP Migration tool appear.
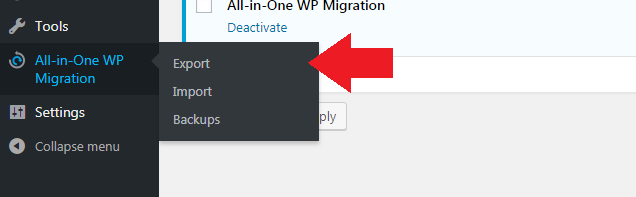
Go to All-in-One WP Migration > Export
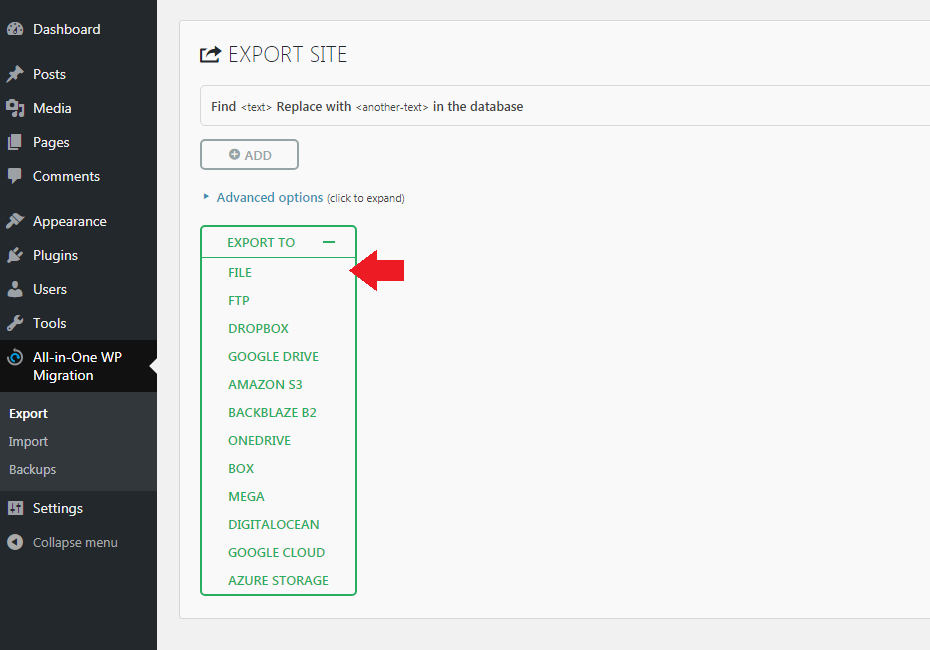
Choose File which will export your entire WordPress site as a .wpress file.
Unless you’re an experienced WP user, we don’t recommend adding any settings or changing any of the default Advanced Settings which may impact on the MySQL database you import to your new WordPress server.
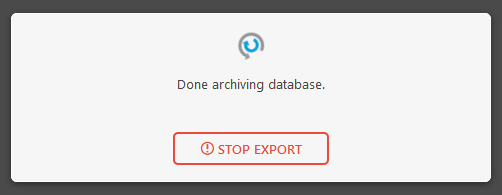
You’ll see a few system messages, followed by the download button.
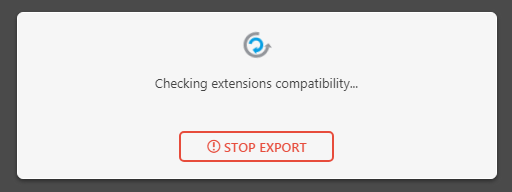
The larger your website is, the more time it may take to archive the database.
Eventually you’ll see a flashing green Download LocalHost button.
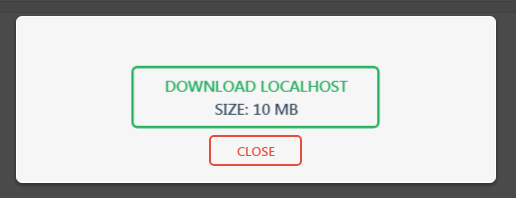
Click Download to export your WordPress site as a .wpress file to your local computer.
Import your old WordPress site
We assume you have already set up your WordPress VPS so the new WordPress site is reachable in the browser.
In a new browser window, login to your new WordPress server’s /wp-admin/ dashboard area.
Install All-in-One WP Migration by navigating to Plugins > Add Plugin in your new WordPress site.
Find the plugin: All-in-One WP Migration
Again, press Install > Activate
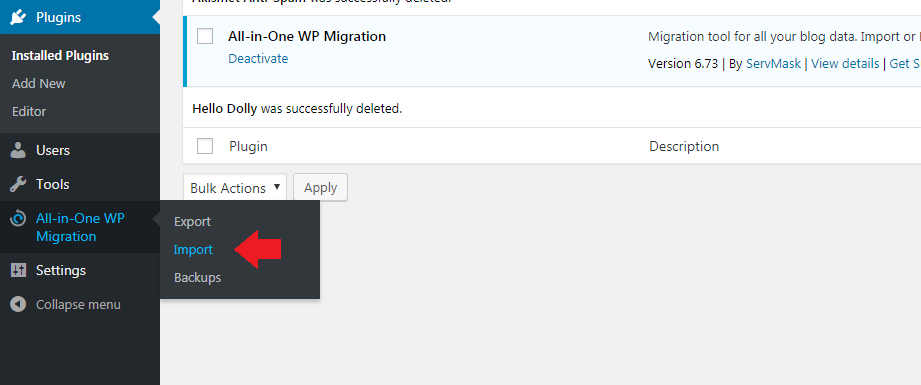
In the left-hand WordPress dashboard, you should see the All-in-One WP Migration tool appear.
As you want to import your old site to your new website, choose Import in the plugin’s dashboard menu.
The All-in-One WP Migration import screen will appear.
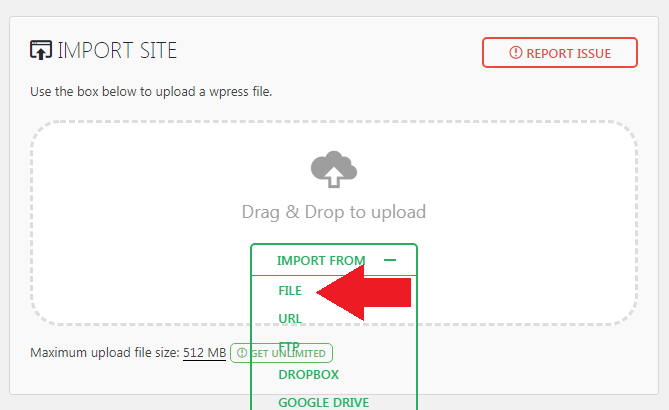
Select File from the Import dropdown.
Find the localhost.wpress file that you exported from your old host to your computer, and upload it at the prompt.
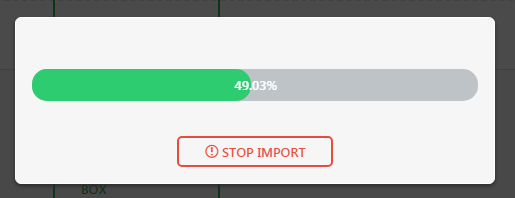
This can take time depending on your ISP’s speed and how big your old website is.
Be prepared to wait up to 1 hour or more for the upload to finish.
Do not close your browser while the file upload is in progress.
Upon completion you will get a warning message advising that you are about to overwrite ALL file and database data on your new WordPress VPS.
You are replacing your WordPress VPS’s files with a perfect copy of your old website.
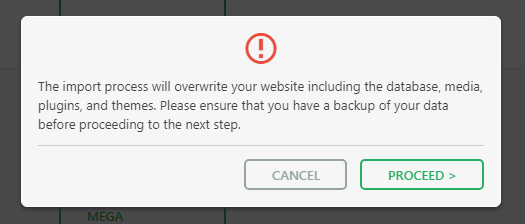
Click Proceed to continue the transfer process.
Be warned this overwriting is not a reversible process.
If you have already started building your new website on your WordPress VPS and don’t wish to overwrite that data, you should use the backup feature in All-in-One migration to take a copy before you import your old site’s wpress file.
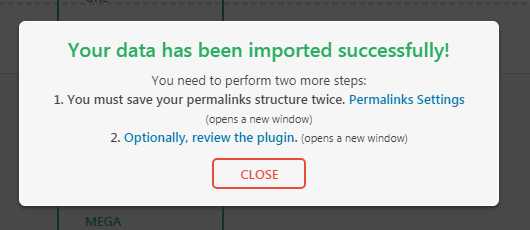
Click Permalink Settings
Once the import has finished, you will be logged out of the new site.
Log back into your new WordPress server using your old site’s /wp-admin/ username and password credentials.
This happens because when you import the data from your old site with the .wpress file, it overwrites your WordPress website’s MySQL database where usernames and password credentials are stored.
We recommend updating the username and password to your new site, use a strong password generator to create a password longer than 16 characters that even hackers can’t manipulate.
Change your password
Don’t use an easy password
Use a strong password generator to choose a secure, random password for your site.
Update Permalink Structure TWICE
Finally, in Permalink Settings, click Save Changes once.
Then wait until the Permalink structure has updated and save it again.

Your new WordPress site should have been successfully imported!
Click Visit Site in the top left dropdown to visit your new Website.
If everything has gone well, you should see your old WordPress site on your new WordPress VPS with HostJane. Congratulations!
If you’re comfortable using a command line program like WP-CLI, ServMask’s All-in-One WP migration plugin can be handled from that interface.